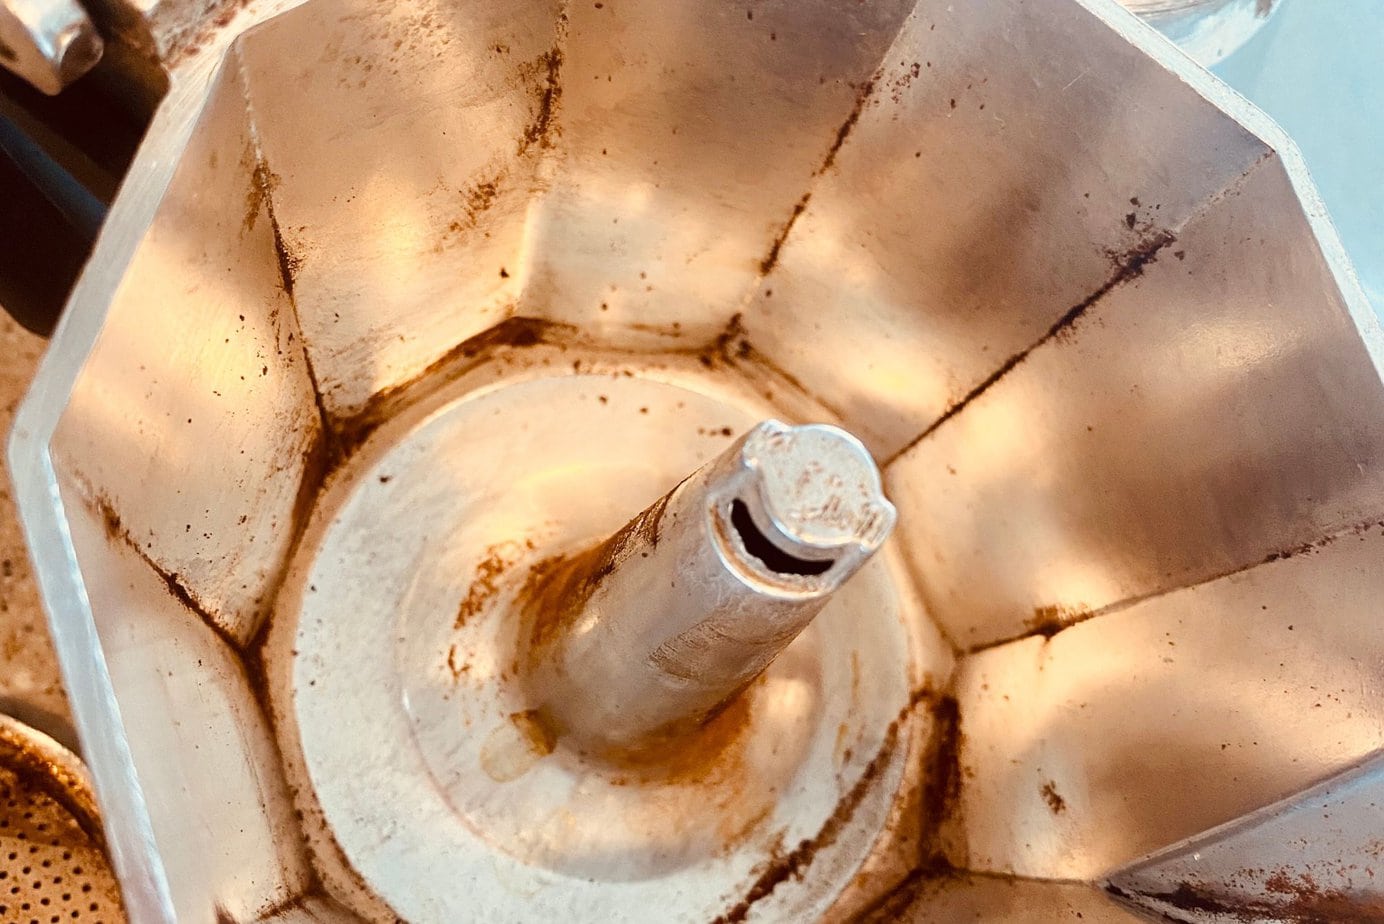
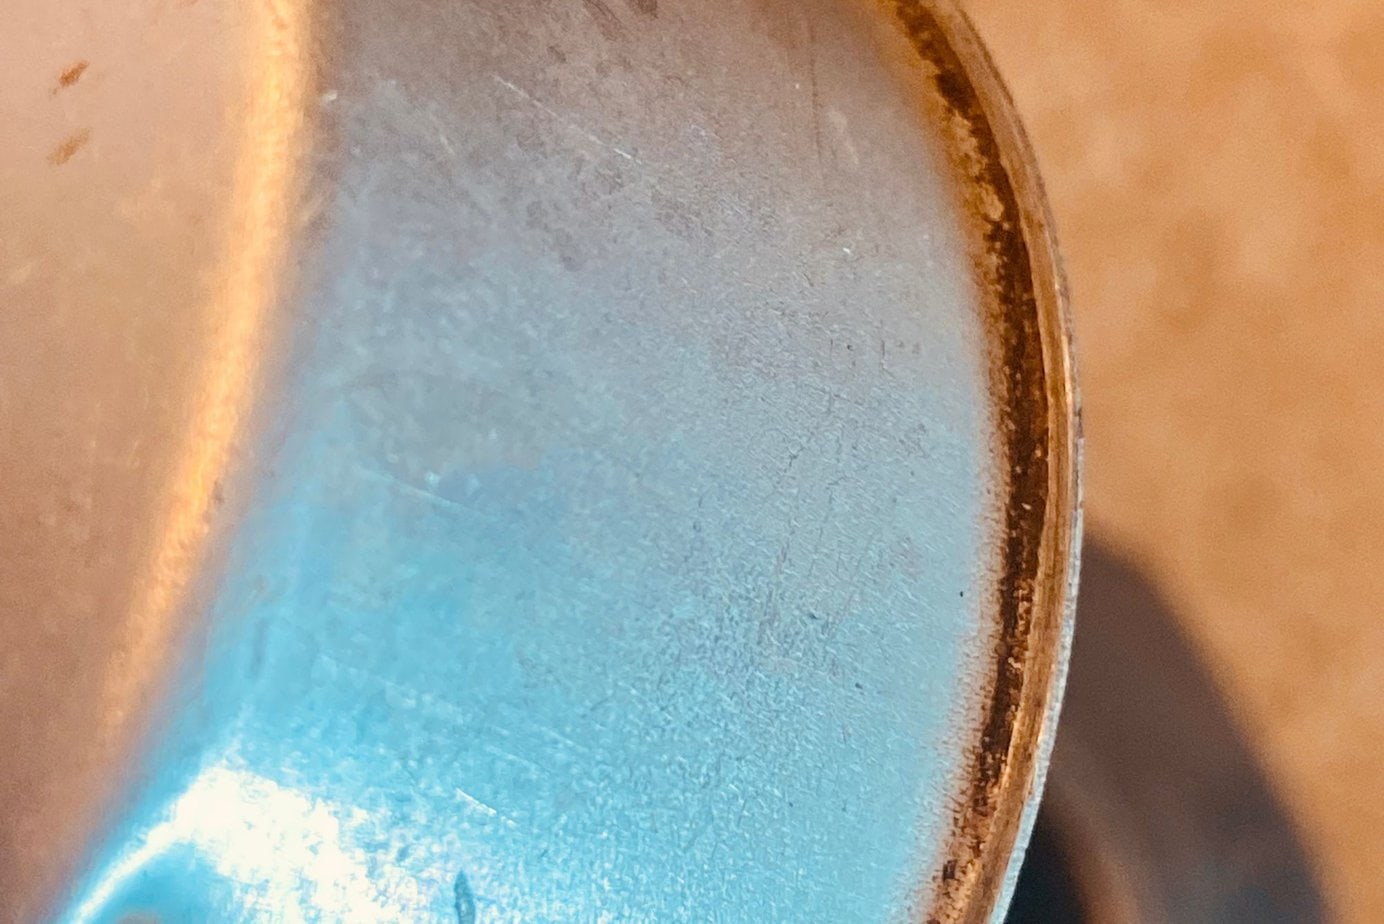
Moka pots make a lot of coffee, use a lot of coffee grounds, are exposed to a lot of heat, and, as utilitarian kitchen devices, are subject to all the spattering and accidents of other kitchenware. Unique among coffee pots, they are robust and simple things but still need some love, not only out of respect as a coffee brewing device but also to keep their condition for dealing with pressure in good form.
An urban myth persists that Moka pots should not be cleaned; a bit of bad advice that’s become part of coffee lore. This is simply wrong and likely based on the idea of not using detergents and soap, as the accumulation of coffee oil will oxidize, leaving a terrible coffee flavor.
A well-cleaned Moka pot is integral to excellent coffee. The seal must keep good pressure, and the valve must function safely. Unlike other coffee makers, except perhaps old-style espresso coffee machines, Moka pots have a safety valve that should never be ignored. While it won’t make a bomb (don’t ask how I know this), it can still be hazardous with hot water in the confines of a kitchen.
Let us show you how to clean a Moka pot!
Should you wash a Moka pot?
You should definitely clean your Moka pot, but this doesn’t mean scrubbing and washing it like a saucepan.
You should keep it clean and dry to prevent corrosion, especially inside the upper chamber where residue can collect. Your Moka pot should not need serious washing if rinsed after every use, and it takes only a minute.
How often should you clean a Moka pot?
Like other coffee makers, rinse it every time you use it as part of basic maintenance, then give it a thorough cleaning every month or so or when it obviously needs it.
Your everyday cleaning process can be no more than a rinse to wash off any liquids and coffee grounds, then wipe out the upper chamber with a cloth or paper towel to remove coffee oils and any mineral deposits.
Occasional deep cleaning requires a bit more effort when the thread is collecting residue, and the gasket is discoloring. Use a damp cloth and a soft brush to get down to the metal. The process is very simple and has a significant effect.

Do Italians wash their Moka pots?
The normal ones do. Every Italian I know treats it just like kitchenware, of which they can be very proud considering the acclaim of their cuisine. A grimy Moka pot would be an embarrassment with guests, and the tainting of flavors just isn’t done.
The myth of not washing Moka pots may have been influenced by rustic images of pots dulled and blackened with a patina from use. This may be true as oxidized aluminum has a protective outer layer, and some people say that a layer of black helps with heating. Still, any Italian who cares about coffee flavor–and I’ve yet to meet one who doesn’t–will have the inside scrupulously clean regardless of the look.
What do you use to clean a Moka pot?
Water and a cloth or paper towel should be all you need, with a soft nylon brush and maybe vinegar or baking soda for the occasional deep clean. Inside the fountain, a twisted cloth or soft bottle brush is perfect, or a kid’s toothbrush is even better to get into the inside of the head.
Aluminum Moka pots like the classic ones from Italy need to be treated with soft materials to avoid scratches and wear. Never use abrasive materials (chemicals or implements), and never put them in a dishwasher where the heat and action can loosen the handle and leave a soapy residue.
Do you wash a Moka pot with soap?
Never. Soaps and detergents can degrade the metal surface and leave a film and deposits that affect the taste of the coffee and destroy any old coffee oils. Soap residue will remain inside the water chamber, especially inside the fountain, which is near-impossible to reach.
Smooth aluminum has no porous surface to absorb oils, so unless there’s corrosion, there’s nothing that can’t be cleaned with some buffing and warm water to soften any grease.
How to descale a Moka pot
Moka pots don’t need to be descaled like an espresso machine because they don’t have the plumbing and pump that can seize because of limescale buildup. However, being soft aluminum, they can benefit from descaling to remove deposits from hard water.
Descaling using white or apple cider vinegar or baking soda is easy. Mix a weak solution with warm water, leave the pot to soak for about 15 minutes, then flush and buff. It’s not an intense process that can degrade the metal’s surface. Think of it as cleaning jewelry; you want to polish the surface, not scour it.
Can you clean a Moka pot with vinegar?
Yes, though it shouldn’t need it often if you maintain it well.
Instead of using a dedicated coffee machine descaler, dilute vinegar 50/50 with warm water and use the solution with a cloth or immerse the pot as you clean. Never scrub the metal as it can expose the aluminum. Any stubborn coffee ground deposits can be loosened with a nylon brush.
Another option is lemon juice, which makes a slightly stronger solution, making it better for spots than an overall cleaning. Citric acid also works but isn’t as strong.

How to clean a Stainless Steel Moka pot
While aluminum needs care to protect the metal, stainless steel is far more tolerant of rigorous cleaning and less susceptible to staining. Stainless steel Moka pots won’t be affected by more abrasive cloths or even steel wool, and with a basic cleaning after each use, they shouldn’t need them any more than an aluminum one.
Stainless steel tolerates using vinegar or baking soda solutions, though just like other pots, you should avoid soapy water and strong detergents.
Cleaning a tarnished Moka pot
First, decide if you want to. A pot tarnished with use over decades, perhaps even blackened over coals and dulled by time, can still brew without affecting the coffee. Some even say that the tarnishing heats better and, like a seasoned skillet or saucepan, is not something to remove. While the outside of a Moka pot can show its age as a well-loved device, the inside needs to be kept as clean as possible to maintain pressure and taste.
If you choose to clean a tarnished Moka pot, be aware it’s not something to attack vigorously. You risk damaging the surface or even wearing down the thread. A series of soaks in baking soda or a vinegar solution with gentle burnishing will remove tarnish after a few repetitions. Be careful to remove only what comes away easily, don’t get so carried away that you hit metal too fast.
How do you clean a burned Moka pot?
A burned Moka pot is one on which coffee has been scorched into the overheated metal inside the chamber or burned on the outside by overflowing or spattering. It isn’t the romantic ye olde rustic look of tarnish you might want and does need to be cleaned.
You may need hot water to remove the burned coffee patina. Dissolve hardened coffee particles by soaking. Apply white vinegar or citric acid directly to hard spots, especially in the angles of the Moka pot’s famous art deco top. Use a nylon brush and take your time. Particularly resistant spots may need the help of a plastic scraper like a spoon, but never use metal like a blade or a fork.
It’s not the end of the world if you can’t get it entirely back to the original shine, as anything scorched on that hard won’t have too much effect on taste.
Points for attention
The Safety Valve
Give the inside face of the safety valve a good brushing and rinse. The occasional jiggle with a pin will keep it from seizing under excessive pressure. If your pot is old, consider replacing the valve.
The Gasket
Occasionally pop out the ring and give the recess a good soaking, followed by cleaning with a brush and a cloth. This is where a real buildup of coffee will accumulate, especially burned coffee, and is integral to the seal you need for the correct pressure.
Hint: Always have a spare seal ring handy. Most seal rings have been silicone for years, so it’s probably time to replace the ring if yours is a rubber gasket.

The Thread
A grimy thread may feel like it’s sealing better when it’s actually wearing unevenly, leading to pressure issues down the line that can cause under-extraction and a metallic taste. Keep it clean and well burnished so it screws together nicely, and pay attention to the rim that seals against the gasket, so there are no hardened grains.
The Filter Plate and Filter Basket
Always keep the filter plate and basket spotless as a clogged screen impedes pressure, and it’s the first thing to examine if you’re having issues. The coffee filter basket needs attention around the lip under the rim, where ground coffee can collect and compromise the seal.

Hard water and corrosion are common culprits, so a good soaking in solution and gentle brushing will get it back to working order. Make sure the edge is smooth and not bent, as that will bleed pressure when brewing.

FAQ
What if I scratch it?
A scratch on the main surface means you must keep it dry with a wipe-down after each use rather than just leaving it on the drying rack. Eventually, with care to avoid a corrosion scar, it will regain its patina, but this can take months after multiple pots of coffee.
A scratch to the thread is more serious as it can affect the pressure. Sand it with very fine sandpaper, so it screws back together. Then do a test run to verify that it doesn’t bleed out the gap.
How to get the gasket ring out?
Never use anything metal than can nick the gasket. A small plastic spoon is good. Start under the inside edge and go around the inside like removing a bike tire. If it’s an older rubber gasket, be careful; it may disintegrate.
Happy Caffeinating!


